
3D Exhibition Stall Design

Every eye-catching exhibition booth you walk past at a trade show started life as nothing more than an idea on a whiteboard. What happens between that first spark of inspiration and the moment your brand’s stall opens its doors to visitors is a carefully engineered journey — one that blends creativity, technology, logistics, and craftsmanship. At Connectbase Communications, we’ve spent years perfecting this journey, turning rough briefs into 3D concepts and, ultimately, into fully built exhibition stands that leave a lasting impression.
In this blog, we’ll walk you through exactly how an exhibition stall design becomes a finished booth — from the first client conversation to the final walkthrough on the show floor. Whether you’re an exhibitor planning your next trade show appearance or simply curious about what goes on behind the scenes, this guide will help you understand the process and why it matters for your brand’s success.
Many businesses underestimate how much planning goes into a professional exhibition stand. A booth isn’t just a backdrop — it’s a three-dimensional extension of your brand identity, built to function under real-world constraints: venue regulations, tight timelines, budget limits, and the need to draw footfall in a crowded hall. A structured design-to-build process ensures nothing is left to chance, and it’s the reason experienced exhibition stall design companies are able to deliver stands that are both visually stunning and structurally sound.
Skipping steps in this process — or working with a vendor who doesn’t follow one — often results in last-minute surprises: mismatched branding, structural issues, or delays that put your show presence at risk. That’s why understanding each stage is valuable, even if you’re not the one building the booth yourself.
Before a single sketch is made, the process begins with listening. Our design team sits down with clients to understand:
This discovery phase is critical. A stall designed without a clear understanding of objectives often looks good but fails to perform. At this stage, we also review the exhibition hall’s technical manual, floor plan, and height restrictions, since these directly influence what’s structurally possible.
Once objectives are clear, our designers begin exploring creative directions. This typically involves:
At this point, we often present two or three distinct creative directions to the client, ranging from minimalist and modern to bold and immersive. This gives brands the flexibility to choose a direction that best fits their identity before we commit resources to detailed design work.
This is where the vision starts taking visible shape. Using advanced 3D modelling software, our team builds a photorealistic rendering of the stall concept. This includes:
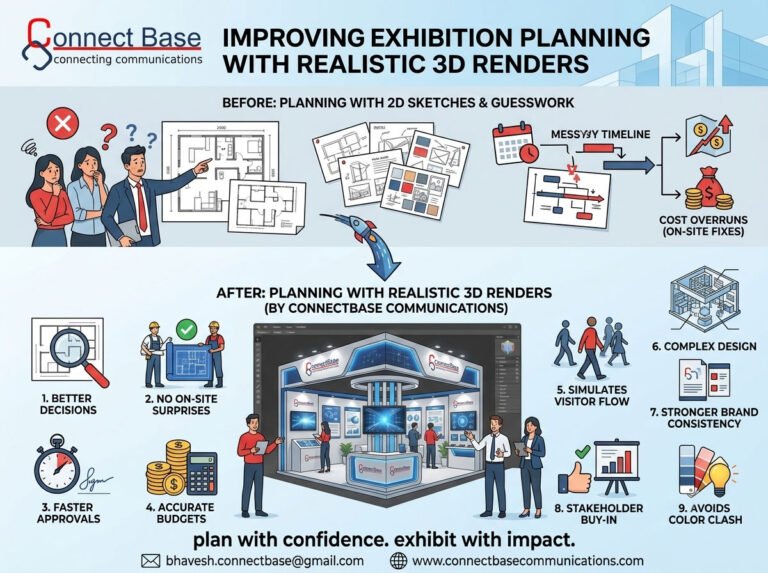
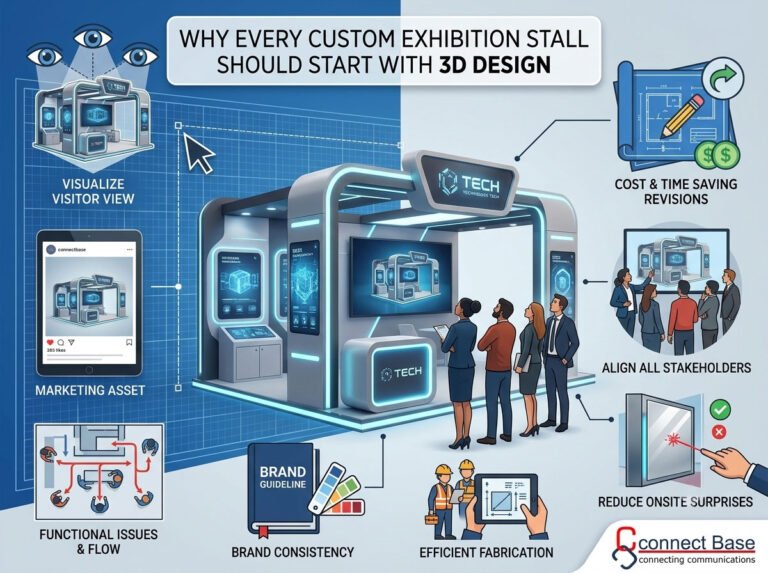
3D visualisation is one of the most valuable tools in modern exhibition stand design, because it allows clients to “walk through” their booth digitally before construction even begins. This dramatically reduces the risk of miscommunication and gives stakeholders confidence in how the final structure will look and function on the show floor.
We typically present multiple camera angles and, where needed, a 360-degree walkthrough, so clients can visualise the space from a visitor’s perspective — not just from a static front-facing image.
No design is perfect on the first attempt, and that’s by design (pun intended). We build in dedicated rounds of feedback where clients can request changes to layout, colour schemes, material choices, or branding placement. Common revision requests at this stage include:
Once the client is satisfied, the 3D design is formally signed off, and we move into technical planning — the bridge between creative vision and physical execution.
A beautiful render means nothing if it can’t be safely and efficiently built. Our production engineers convert the approved 3D concept into detailed technical drawings, including:
This stage often involves close coordination with the venue’s technical team to ensure the design complies with height restrictions, weight limits on the exhibition floor, and local safety codes. Any structural adjustments identified here are communicated back to the design team to ensure the final build still matches the client’s approved vision as closely as possible.
With technical drawings finalised, production begins. This is typically the most resource-intensive phase, involving:
Experienced fabrication teams often build modular sections that can be tested for fit in the workshop before ever reaching the venue. This “test-build” approach catches potential issues early — a misaligned panel or an electrical fault is far easier to fix in a controlled workshop than under the time pressure of on-site installation.
Before any component leaves the workshop, it goes through a rigorous quality check. Our team inspects:
This step ensures that what arrives at the venue is ready for a smooth, efficient installation rather than requiring on-site fixes that eat into limited setup time.
This is where months of planning come together in just a few days — sometimes even hours. Our installation crews work within the tight build-up windows allocated by exhibition organisers, assembling the stall piece by piece:
On-site teams must be highly coordinated, since exhibition halls are often shared spaces with dozens of other stalls being built simultaneously. Logistics, timing, and communication with venue staff are just as important as the craftsmanship itself.
Once installation is complete, our team conducts a final walkthrough with the client before the show opens. This is the moment where the 3D concept and the physical booth are compared side by side to confirm everything matches the approved design. Any last-minute touch-ups — adjusting lighting angles, straightening graphics, or repositioning furniture — are handled at this stage.
This final review isn’t just a formality; it’s the client’s opportunity to walk through their brand’s physical presence and experience it exactly as visitors will.
The process doesn’t end when the show closes. Professional exhibition stand partners also handle:
This is particularly valuable for brands that exhibit regularly, as modular and reusable stall components can significantly reduce costs for future shows — something our custom exhibition stand clients frequently take advantage of.
Technology has transformed how exhibition stalls are designed and built. A few tools that have become industry standard include:
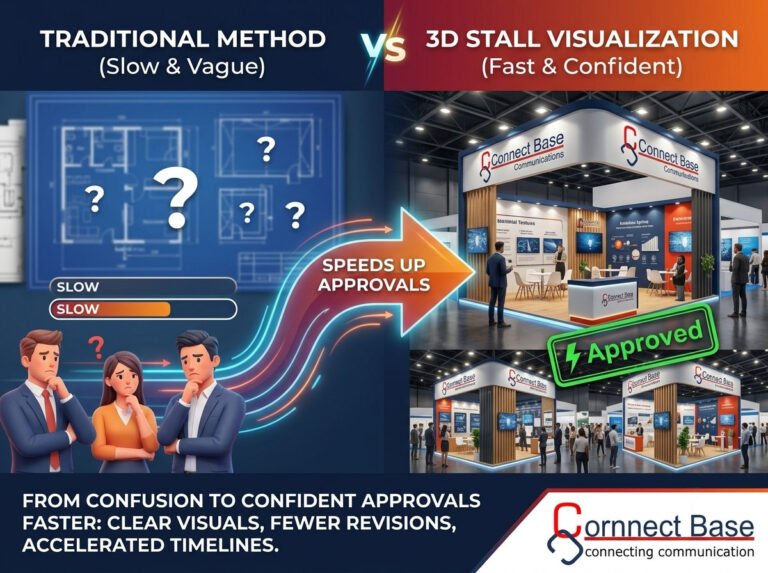
These technologies not only improve accuracy but also speed up the design approval process, allowing brands to make confident decisions faster — a crucial advantage when working with fixed exhibition deadlines.
Having guided hundreds of brands through this process, we’ve noticed a few recurring pitfalls:
Working with an experienced exhibition stall design company helps you avoid these mistakes, since the process is built around anticipating challenges before they arise.
At Connectbase Communications, we manage the entire journey in-house — from initial concept sketches and 3D visualisation to fabrication, installation, and post-show support. Our approach combines creative design thinking with engineering precision, ensuring your exhibition stand is not just visually striking but also structurally reliable and fully compliant with venue requirements.
We work with brands across industries, offering:
If you’re planning your next trade show appearance and want a partner who can guide you through every stage of this process, our team is ready to help turn your ideas into a booth that performs.
Get in touch with us today: 🌐 www.connectbasecommunications.com 📧 bhavesh.connectbase@gmail.com
Explore more insights on exhibition stand design and trade show success on our blog:
Q1. How long does it take to go from concept to a finished exhibition stall? Depending on the size and complexity of the stand, the full process — from initial briefing to installation — typically takes anywhere from 4 to 12 weeks. Larger, custom-built stalls with intricate structural elements naturally require more lead time.
Q2. Can I make changes after the 3D design is approved? Minor changes are usually possible during the technical drawing phase, but major layout changes after approval can affect timelines and costs, since fabrication planning is based on the finalised design.
Q3. What’s the difference between a custom stand and a modular stand? A custom stand is designed and built from scratch to match a specific brief and is typically used once or reconfigured significantly between shows. A modular stand uses reusable components that can be reconfigured into different layouts for multiple events, offering better long-term cost efficiency.
Q4. Do you handle installation and dismantling at the venue? Yes, our team manages the complete on-site process, including installation, final styling, and post-show dismantling, so your team can focus on engaging visitors rather than managing logistics.
Turning a 3D concept into a fully realised exhibition booth is a process built on collaboration, precision, and experience. Every stage — from the first briefing conversation to the final walkthrough on the show floor — plays a role in ensuring your brand shows up exactly the way it was envisioned.
If you’re ready to bring your next exhibition stall design to life, Connectbase Communications is here to guide you through every step of the journey — from concept to reality.
Planning a stall for an upcoming show? Contact Connectbase Communications or call +91 7600576410 to talk through your requirements.
Keep reading
WhatsApp us
 +91 7600576410