
3D Exhibition Stall Design
Every year, thousands of brands walk onto exhibition floors with one goal: to be remembered. Yet the difference between a stall that draws a crowd and one that gets walked past often isn’t the budget — it’s the process behind it. And at the centre of every successful exhibition stall build is a step that’s frequently rushed or skipped altogether: 3D design.
If you’re planning your next trade show appearance, understanding why 3D design should be the very first step — not an afterthought — can save you money, time, and a lot of last-minute stress.
A 3D exhibition stall design is a realistic, to-scale digital model of your stand, created before any physical construction begins. Unlike a flat 2D floor plan, a 3D render shows depth, height, lighting, material finishes, branding placement, and how visitors will actually move through the space.
At Connectbase Communications, this is the very first deliverable we create for every client — before a single panel is cut or a single graphic is printed. It’s not an optional add-on to our custom exhibition stall design services — it’s the foundation everything else is built on.
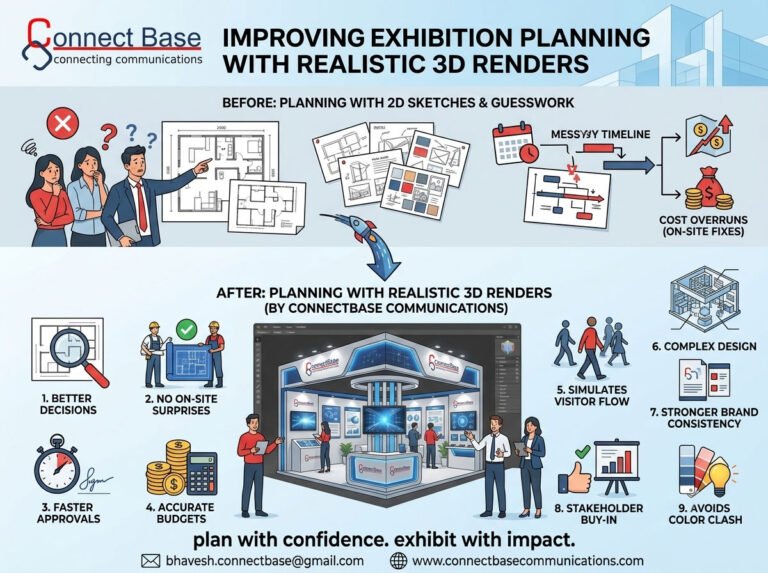
For decades, exhibition stalls were designed and approved using flat floor plans and rough elevation sketches. The problem? A floor plan tells you where things are — but it can’t tell you how they’ll feel.
A 10-foot wall might look reasonable on paper but completely block sightlines to your logo from the aisle. A meeting pod might have the “right” square footage on a plan but feel cramped and closed-off in real life. These are exactly the kinds of issues that a 2D approval process misses — and that 3D design catches before it’s too late.
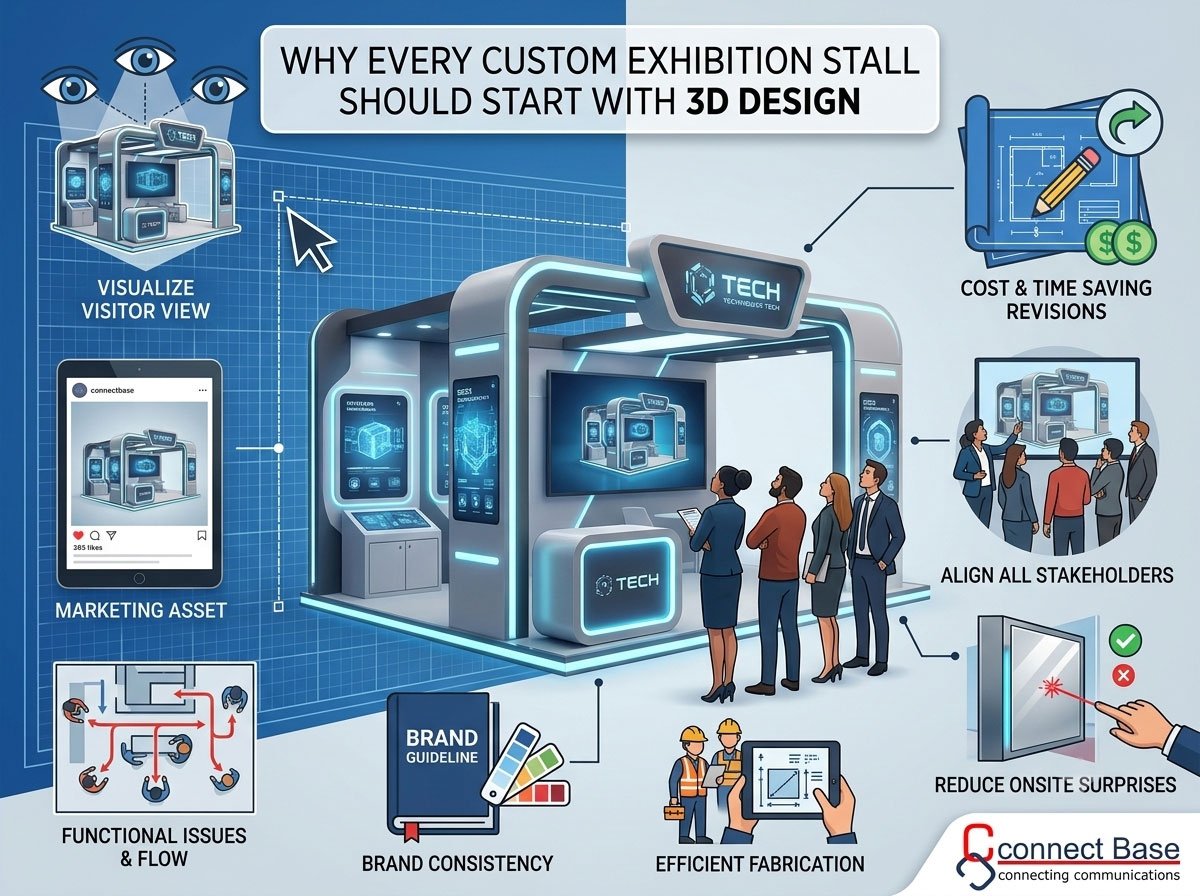
The single biggest advantage of 3D design is perspective. A 3D render lets you “walk through” your stall virtually — checking sightlines from the aisle, how your branding reads from a distance, and whether key products or messaging are visible from the entrance. This is something a flat plan simply cannot replicate.
This is the single biggest cost-saving reason to start with 3D. Moving a wall, resizing a counter, or repositioning a screen in a 3D model takes minutes and costs nothing. Making the same change after fabrication has started means new materials, wasted labour hours, and — in most cases — a tighter deadline to fix it before the show opens.
Exhibition stall budgets are rarely lost on materials. They’re lost on late-stage changes that could have been caught earlier.
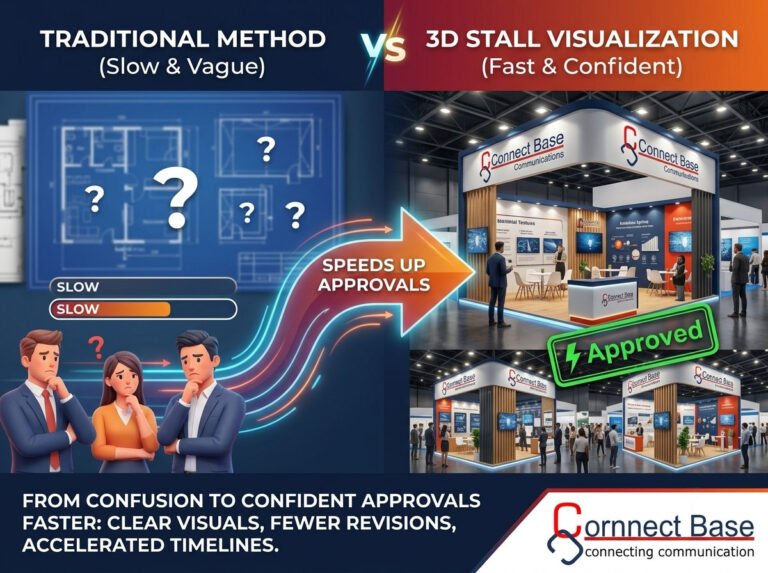
Marketing teams, sales leaders, and company decision-makers almost never “see” a stall the same way when looking at a flat floor plan. A photorealistic 3D render puts everyone — from your CMO to your event manager — on the same page, looking at the same vision, before a single dollar is spent on construction.
This alone prevents one of the most common (and expensive) problems in exhibition builds: last-minute change requests from stakeholders who didn’t fully understand the 2D plan until they saw the finished stall.
A polished 3D render isn’t just a design tool — it’s content. Brands regularly use their 3D renders for:
This means your investment in 3D design starts generating marketing value weeks before the actual event.
Beyond aesthetics, 3D design surfaces practical problems that 2D plans hide:
Catching these issues at the design stage means your stall works as well operationally as it looks visually.
Every brand has guidelines — specific colours, logo clear-space rules, approved fonts, and material finishes. A 3D model can be checked against these guidelines pixel-by-pixel before it’s locked into physical form, ensuring your stall looks exactly as on-brand as your other marketing materials.
When a fabrication team works from a detailed 3D model instead of a 2D plan with written notes, there’s far less room for misinterpretation. Measurements, materials, and finishes are all visible and precise — which shortens production timelines and reduces costly back-and-forth during the build phase.
Exhibition builds usually happen on a tight schedule, often with only a day or two to construct before the show floor opens. A 3D-approved design means the onsite team is executing a plan that’s already been visually validated — dramatically reducing the risk of surprises when the stall goes up.
Skipping the 3D design phase might feel like it saves time upfront, but in practice, it almost always costs more in the long run:
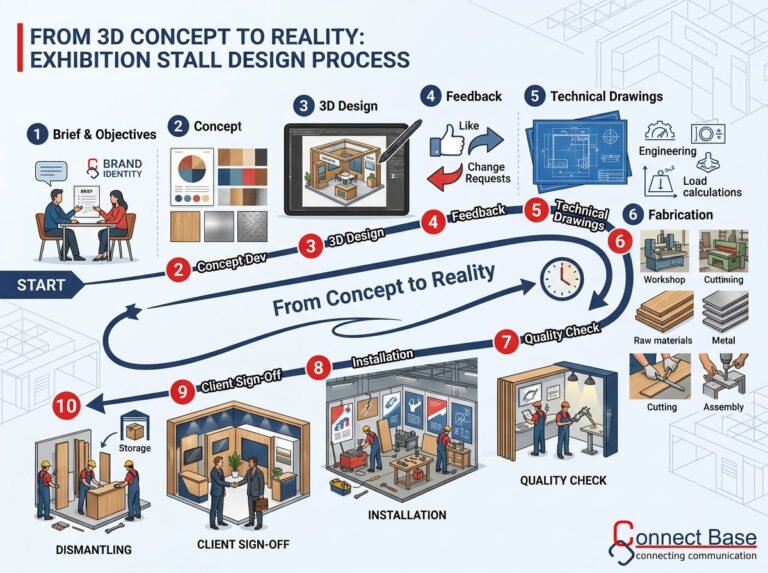
If you’re evaluating an exhibition stall design company, here’s what a strong 3D design phase should cover:
This is exactly the process our team follows for every project — you can see examples of completed builds in our exhibition stall design portfolio and explore the full range of our exhibition stand services.
While every exhibitor benefits from 3D design, it’s especially valuable for:
How long does 3D exhibition stall design take? Depending on complexity, a detailed 3D design phase typically takes anywhere from a few days to two weeks, including revision rounds.
Does 3D design cost extra on top of the stall build? At Connectbase Communications, 3D design is included as a core part of our custom exhibition stall process — not billed as a separate add-on — because we consider it essential to getting the build right the first time.
Can I request changes after seeing the 3D design? Yes. This is exactly the point of designing in 3D first — revisions at this stage are quick and cost-effective, unlike changes requested after fabrication has begun.
What’s the difference between a 3D render and a technical drawing? A 3D render is a realistic visual representation used for approval and marketing. A technical drawing is the precise, measurement-accurate document used by the fabrication team to actually build the stall. A professional process moves from one to the other only after design approval.
A custom exhibition stall is a significant investment — and unlike most marketing assets, it usually has to work perfectly the very first time, on a fixed date, in front of your industry. Starting with 3D design isn’t an extra step in the process; it’s risk management, budget protection, and brand quality control, all built in from day one.
At Connectbase Communications, every custom exhibition stall we design starts with a detailed 3D visualization phase, so our clients know exactly what their visitors will experience — before we build a single panel.
Explore more insights on our exhibition design blog, browse our exhibition stall design services, or view our portfolio of completed stalls for inspiration on your next stand.
Ready to start your next exhibition stall with a 3D design? Visit www.connectbasecommunications.com or email us directly at bhavesh.connectbase@gmail.com to begin your design consultation.
Planning a stall for an upcoming show? Contact Connectbase Communications or call +91 7600576410 to talk through your requirements.
Keep reading
WhatsApp us
 +91 7600576410