
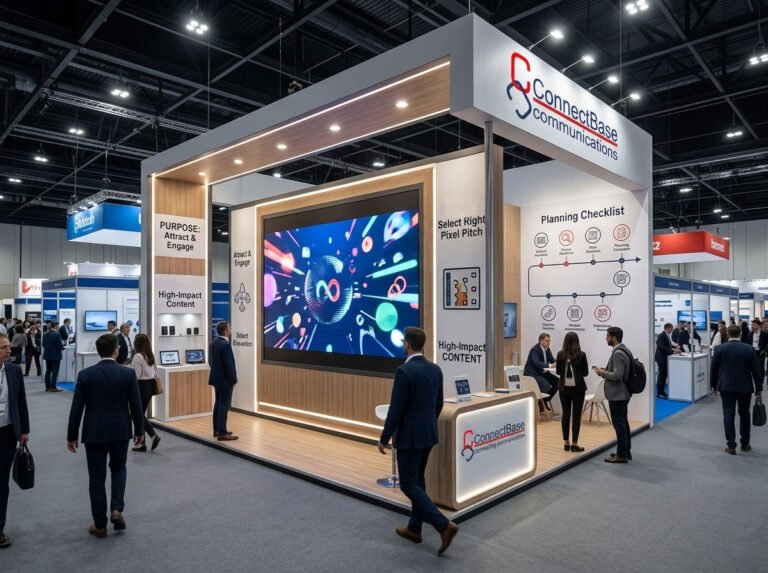
Exhibition Stall Design & Fabrication
Trade shows and exhibitions remain one of the most powerful ways for brands to showcase new products, generate qualified leads, and build face-to-face relationships with customers. But when your goal is a live product demonstration, a generic exhibition stall simply won’t cut it. A demo-focused stall needs to be engineered differently — with sightlines, flow, technology, and storytelling all working together to hold a visitor’s attention long enough to convert interest into a sale.
At Connectbase Communications, we design and build exhibition stalls that are purpose-built for product demonstrations. In this guide, we’ll walk you through everything you need to know — from layout planning to technology integration — to design a stall that turns booth visitors into engaged prospects.
A standard exhibition stall is designed to attract attention and communicate a brand message. A product demonstration stall has to do all of that, plus:
If you treat a demo stall like a standard branding booth, you’ll end up with a beautiful stand that fails at its actual job: showing your product in action and generating leads.
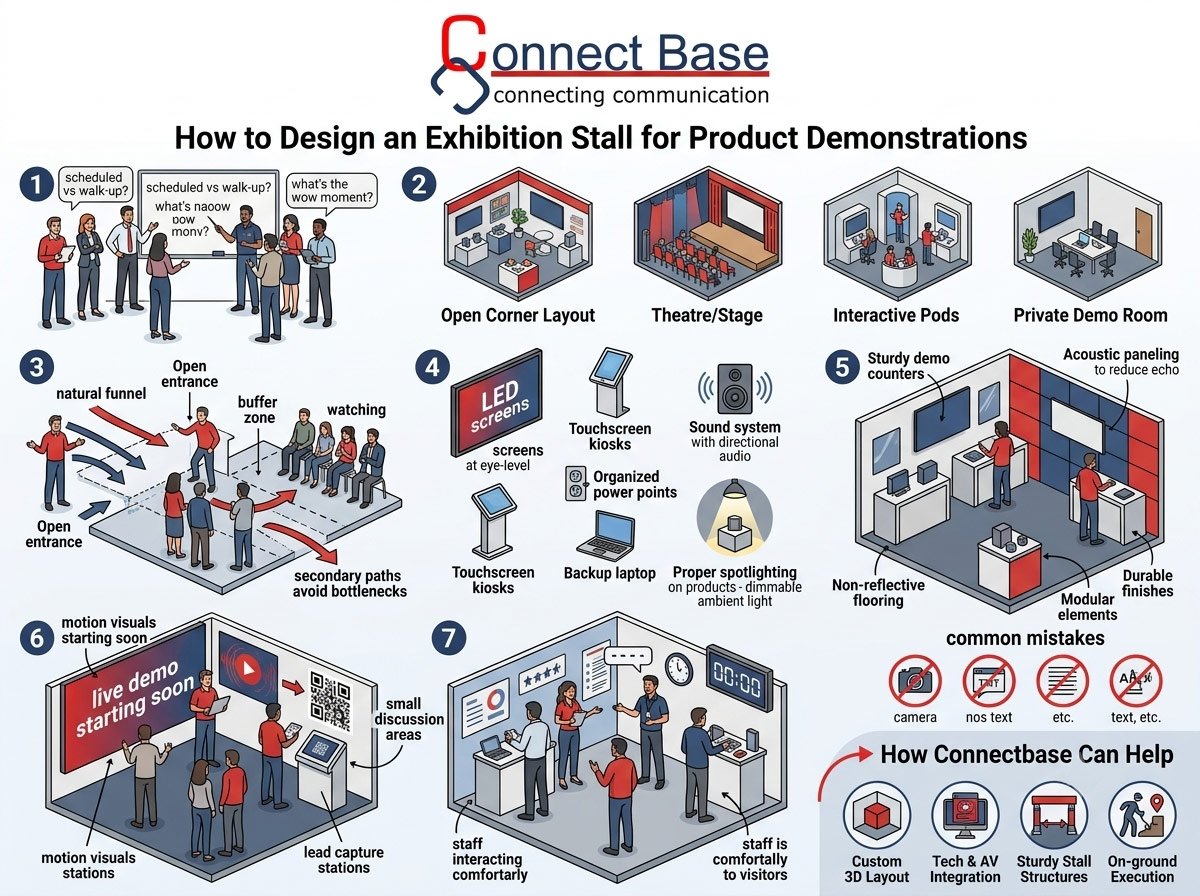
Before sketching a single layout, get clarity on the demonstration itself.
Ask these questions first:
The answers to these questions determine your stall’s footprint, layout, and technology needs. A 3-minute rapid demo for a gadget needs a completely different design than a 20-minute software walkthrough for enterprise buyers.
The layout is the backbone of a successful demo stall. Here are the most effective configurations we design at Connectbase Communications:
Ideal for high-traffic demos where you want maximum visibility from two aisles. This layout pulls visitors in naturally and works well for quick, eye-catching demonstrations that don’t require privacy.
Best for scheduled presentations. A raised platform, tiered or semi-circular seating, and a large display screen let you run demos at set times throughout the day, drawing a crowd and creating urgency (“next demo starts in 5 minutes”).
Multiple smaller demo stations (pods) spread across the stall, each with its own screen or product unit. This works well when you have several product variants or features to showcase simultaneously, letting visitors choose what interests them most.
For B2B or high-value products, an enclosed or semi-enclosed meeting space lets your sales team run a personalized, distraction-free demo for serious prospects, away from the noise of the main floor.
Many of the stalls we build combine two of these — for example, an open layout for casual visitors paired with a private room for qualified leads.
One of the biggest mistakes exhibitors make is blocking the very thing they want people to see. When designing your stall:
Modern product demonstrations are technology-heavy, and your stall’s design needs to accommodate this seamlessly rather than as an afterthought.
Key technology elements to plan for:
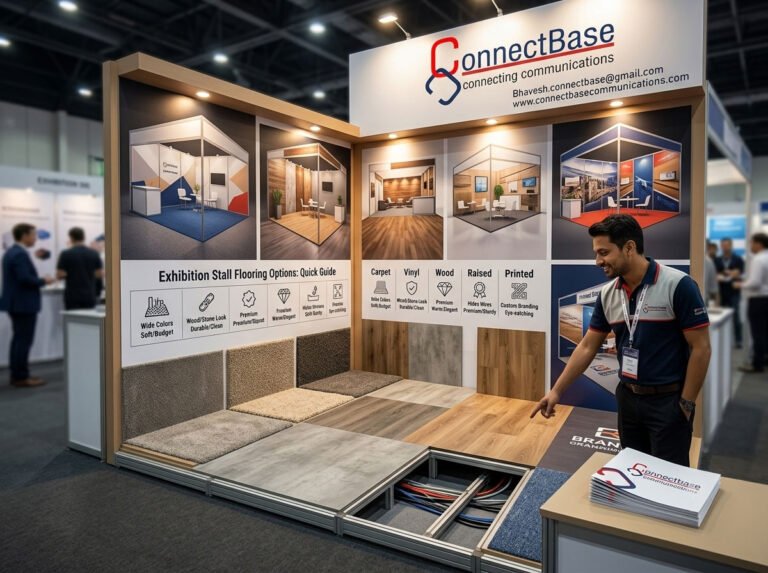
Cable management deserves special mention here. Nothing undermines a slick product demo faster than visible tangled wires or gaffer tape across the floor. Work with your stall designer to route cabling through the structure itself — inside counters, false floors, or hollow paneling.
The physical build of your stall should actively support the demonstration, not just look good in photos.
A great demo stall doesn’t just showcase the product for the few minutes someone is watching — it works before and after too.
Before the demo: Use large-format graphics, motion visuals, or a live product teaser to draw attention from a distance and let people know a demonstration is about to start or is currently running.
After the demo: Have a clear next step ready — a lead capture station, a QR code linking to more information, a small seating area for follow-up conversation, or a product literature stand. Visitors who’ve just watched an impressive demo are primed to engage further; don’t let that momentum go to waste with a dead end.
Even the best-designed stall depends on the people running it. When finalizing your layout:
Designing an exhibition stall that successfully supports product demonstrations requires more than creative visuals — it requires a deep understanding of visitor behavior, technical integration, and spatial planning. At Connectbase Communications, we specialize in designing and building custom exhibition stalls that are engineered around your specific demonstration needs, whether that’s a fast-paced consumer product reveal or a detailed enterprise software walkthrough.
Our process includes:
If you’re preparing for an upcoming trade show and want a stall designed specifically to make your product demonstration shine, we’d love to help you bring it to life.
Get in touch with Connectbase Communications: 🌐 Website: www.connectbasecommunications.com 📧 Email: bhavesh.connectbase@gmail.com
Keep reading
WhatsApp us
 +91 7600576410