
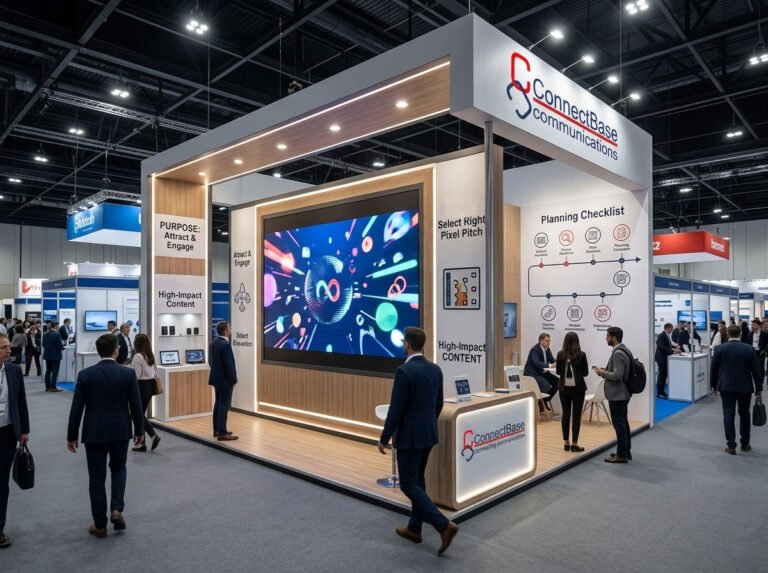
Exhibition Stall Design & Fabrication
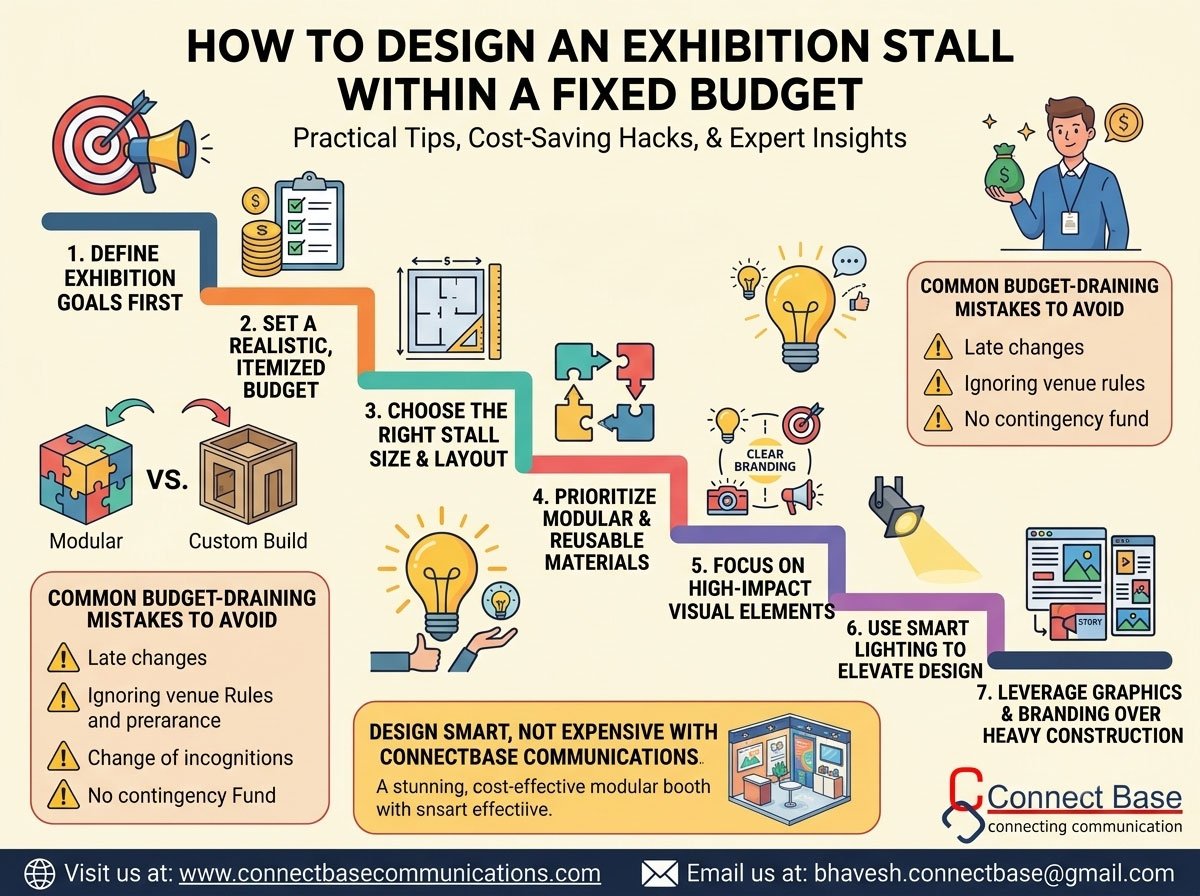
Every exhibitor walks into a trade show with the same silent worry: “Will my stall stand out, or will it get lost in a sea of competitors — and will I blow my budget doing it?”
The good news is that a limited budget doesn’t have to mean a limited impact. Some of the most talked-about stalls at major exhibitions weren’t the most expensive ones on the floor — they were the smartest ones. With the right planning, creative thinking, and a experienced exhibition stall design partner, you can create a booth that draws footfall, builds brand recall, and delivers real ROI, all without overspending.
At Connectbase Communications, we’ve helped businesses across industries design exhibition stalls that look premium, function seamlessly, and stay well within their allocated budgets. In this guide, we’ll walk you through exactly how to design an exhibition stall within a fixed budget — step by step.
Many exhibitors make the mistake of finalizing a “dream design” first and worrying about cost later. This almost always leads to compromises made under pressure — cutting corners on lighting, downgrading materials at the last minute, or slashing space for interactive elements that actually drive engagement.
A smarter approach flips this process: define your budget first, then design intelligently within it. This way, every rupee you spend is intentional, and nothing critical gets sacrificed at the eleventh hour.
A well-planned budget also helps you:
Before a single sketch is drawn, ask yourself:
Your goals directly influence design priorities. For example, a stall focused on lead generation needs a welcoming reception area and comfortable meeting corners, while a product-launch stall needs strong visual displays and demo zones. Knowing this upfront prevents wasted spending on elements that don’t serve your actual objective.
A vague number like “we have 5 lakhs for the stall” isn’t enough. Break your budget down into categories:
That contingency fund is non-negotiable. Exhibitions almost always throw up unexpected costs — venue restrictions, last-minute design tweaks, or additional labor charges. Having a buffer prevents panic spending later.
Bigger isn’t always better. A smartly designed 3x3m or 6x6m stall can outperform a poorly planned larger space. Before committing to stall size, consider:
Right-sizing your stall based on actual need — not ego — is one of the fastest ways to control costs without compromising presence.
One of the biggest budget-saving strategies in exhibition stall design is choosing modular and reusable structures over custom-built, single-use setups.
Benefits of modular exhibition stalls:
At Connectbase Communications, we design modular stall systems that can be reconfigured for different hall sizes and event formats — so you’re not paying for a brand-new structure every single time you exhibit.
When working within a fixed budget, not every element deserves equal investment. Some areas have a disproportionately high impact on how your stall is perceived:
This selective investment approach is how experienced exhibition stand designers create a “premium” look without a premium price tag.
Lighting is often underestimated, yet it’s one of the most cost-effective ways to transform a simple stall into something that looks high-end.
A well-lit stall with basic structure will almost always outperform a poorly lit stall with expensive materials.
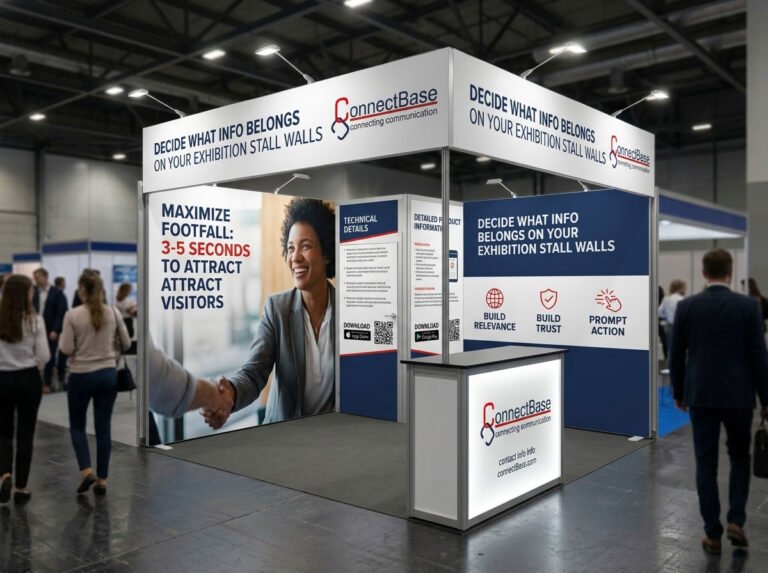
Custom fabrication — curves, multi-level platforms, oversized structures — is often where exhibition budgets spiral out of control. A cost-effective alternative is to let graphics and branding do the heavy lifting.
This is where creative exhibition stall design truly matters — it’s not about how much material you use, but how effectively you use it.
Not everything needs to be purchased outright. Renting furniture, AV equipment, and even certain structural elements can significantly reduce upfront costs, especially if you exhibit only once or twice a year.
Items commonly worth renting:
Items worth owning (if you exhibit frequently):
A good exhibition stall design company will help you decide what makes financial sense to rent versus buy based on your exhibition frequency.
It’s tempting to simply choose the cheapest quotation, but this often backfires. A lower price may mean:
When comparing exhibition stand design companies, ask:
A transparent, detailed quotation is often a better indicator of reliability than the lowest number on the page.
Many exhibitors focus entirely on design and forget that installation, dismantling, and logistics can account for a significant chunk of the total budget. To avoid surprises:
Planning this stage properly avoids rushed decisions and unplanned expenses on the exhibition floor itself.
Avoiding these pitfalls alone can save a significant percentage of your overall exhibition spend.
At Connectbase Communications, we specialize in designing exhibition stalls that balance creativity, functionality, and cost-efficiency. Our approach focuses on:
Whether you’re exhibiting for the first time or you’re a seasoned exhibitor looking to optimize costs, our team works closely with you to design a stall that reflects your brand’s value — without exceeding your budget.
Designing an exhibition stall within a fixed budget isn’t about compromise — it’s about strategy. When you define clear goals, plan your budget in detail, prioritize high-impact elements, and partner with an experienced exhibition stall design company, you can create a stall that competes with — and often outshines — much bigger budgets on the show floor.
A great exhibition presence isn’t measured by how much you spent. It’s measured by how well every rupee was used.
Ready to design a budget-friendly exhibition stall that still turns heads?
Get in touch with Connectbase Communications today. 🌐 Visit us at: www.connectbasecommunications.com 📧 Email us at: bhavesh.connectbase@gmail.com
Connectbase Communications is an exhibition stall and stand design company helping brands create impactful, budget-smart exhibition experiences.
Keep reading
WhatsApp us
 +91 7600576410