Key Takeaways
- Start with one design idea and a short colour palette, since stalls look cluttered when every element is chosen separately.
- Flooring is one of the most noticeable details: a solid carpet, a raised platform or a wood-look vinyl changes how the stall feels.
- Use plants, props and display fixtures that support the product story rather than filling space.
- Small signage details such as 3D logo letters, product labels and a visible stall number show the stall has been thought through.
- Check edges, cables and joints at set-up and keep all decoration within the organiser's exhibitor manual.
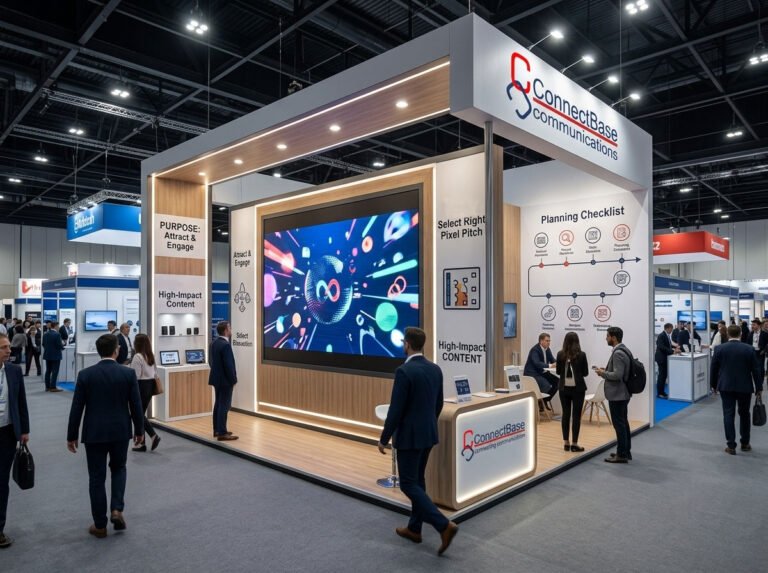
Decorating an exhibition stall is less about adding more things and more about getting the finishing details right. This guide covers the practical decoration choices that make a stall feel considered: flooring, plants, props, textures, display fixtures, seating and signage, along with the organiser rules that limit what you can bring in.
Begin with one idea and a short palette
Before choosing any decoration, decide what the stall should feel like. A machinery brand may want something clean and technical; a food or lifestyle brand may want warmth and texture. Write that down in a sentence, then pick two or three colours and two or three materials that support it. Every decorative item should fit within that palette.
Stalls look cluttered when each element is chosen separately: a patterned carpet, glossy walls, wooden props and coloured lights that do not relate to each other. Restraint is what makes a stall look finished. If you are unsure, remove an item rather than add one.
Get the flooring right
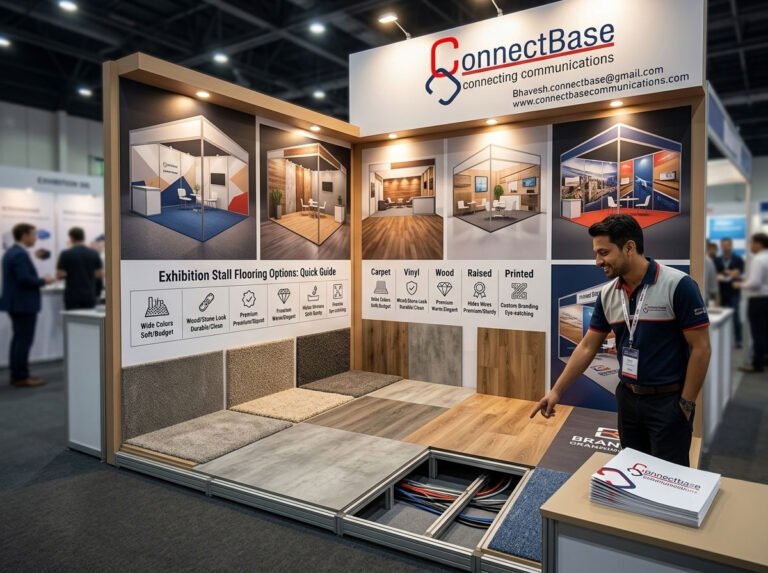
Flooring is the most overlooked decorative element and one of the most noticeable. On raw-space stalls you choose your own floor; on shell-scheme stalls the organiser usually provides a basic carpet, which you can often upgrade or cover. Common options include:
- Exhibition carpet in a solid colour that matches your palette, which is economical and quiet underfoot
- A raised platform, which hides cables, defines the stall edge clearly and allows a different floor finish on top
- Vinyl or laminate with a wood, concrete or stone look, which suits premium or product-focused stalls
- Artificial grass or textured mats for specific zones, such as a lounge or a demo area
If you use a platform, keep the edge visible with a contrasting trim or a bevelled ramp, so visitors do not trip, and make sure it meets any accessibility requirements set by the organiser.
Use textures and finishes to add depth
Flat painted walls under bright hall lighting can look plain. Changing the texture of one or two surfaces adds depth without adding clutter: a wood-grain laminate behind the reception counter, a fabric panel on a meeting wall, a fluted or slatted section, or a stone-effect finish on a display plinth.
Mix matte and gloss carefully. Gloss surfaces reflect hall lights and can make graphics hard to read, while matte finishes photograph more evenly. Our guide on choosing the right surface finish for an exhibition stall compares paint, laminate, veneer, fabric and other options in more detail.
Add plants and props with a purpose
Plants soften hard edges and make a stall feel more welcoming, especially in large, air-conditioned halls. A few tall planters at the corners or a planter line along a meeting area works better than many small pots scattered around. Live plants need watering and can wilt over a long show, so many exhibitors use good-quality artificial greenery, or a mix of both.
Props should support the product or the story, not just fill space. Examples that tend to work:
- raw materials or components displayed beside the finished product
- a cut-section or exploded view of a machine part
- an everyday setting, such as a small kitchen counter or shop shelf, showing the product in use
- a single large feature object that people can recognise from the aisle
Choose display fixtures that suit the products
Display fixtures are where decoration and function meet. The right fixture depends on the size, weight and value of what you are showing:
- Plinths at different heights for individual products, so each one has its own space
- Lockable glass showcases for small, valuable or delicate items such as jewellery, instruments or electronics
- Wall shelves and niches with built-in lighting for product ranges
- Heavy-duty bases for machinery, planned with the load and the organiser’s floor limits in mind
Leave space around each product and light it properly. A few well-lit items on clean fixtures look more deliberate than a full shelf. Lighting is the finishing detail that ties the rest together; see our article on how to use lighting to make your exhibition stall more attractive for spotlights, strip lighting and backlit panels.
Plan seating and small furniture
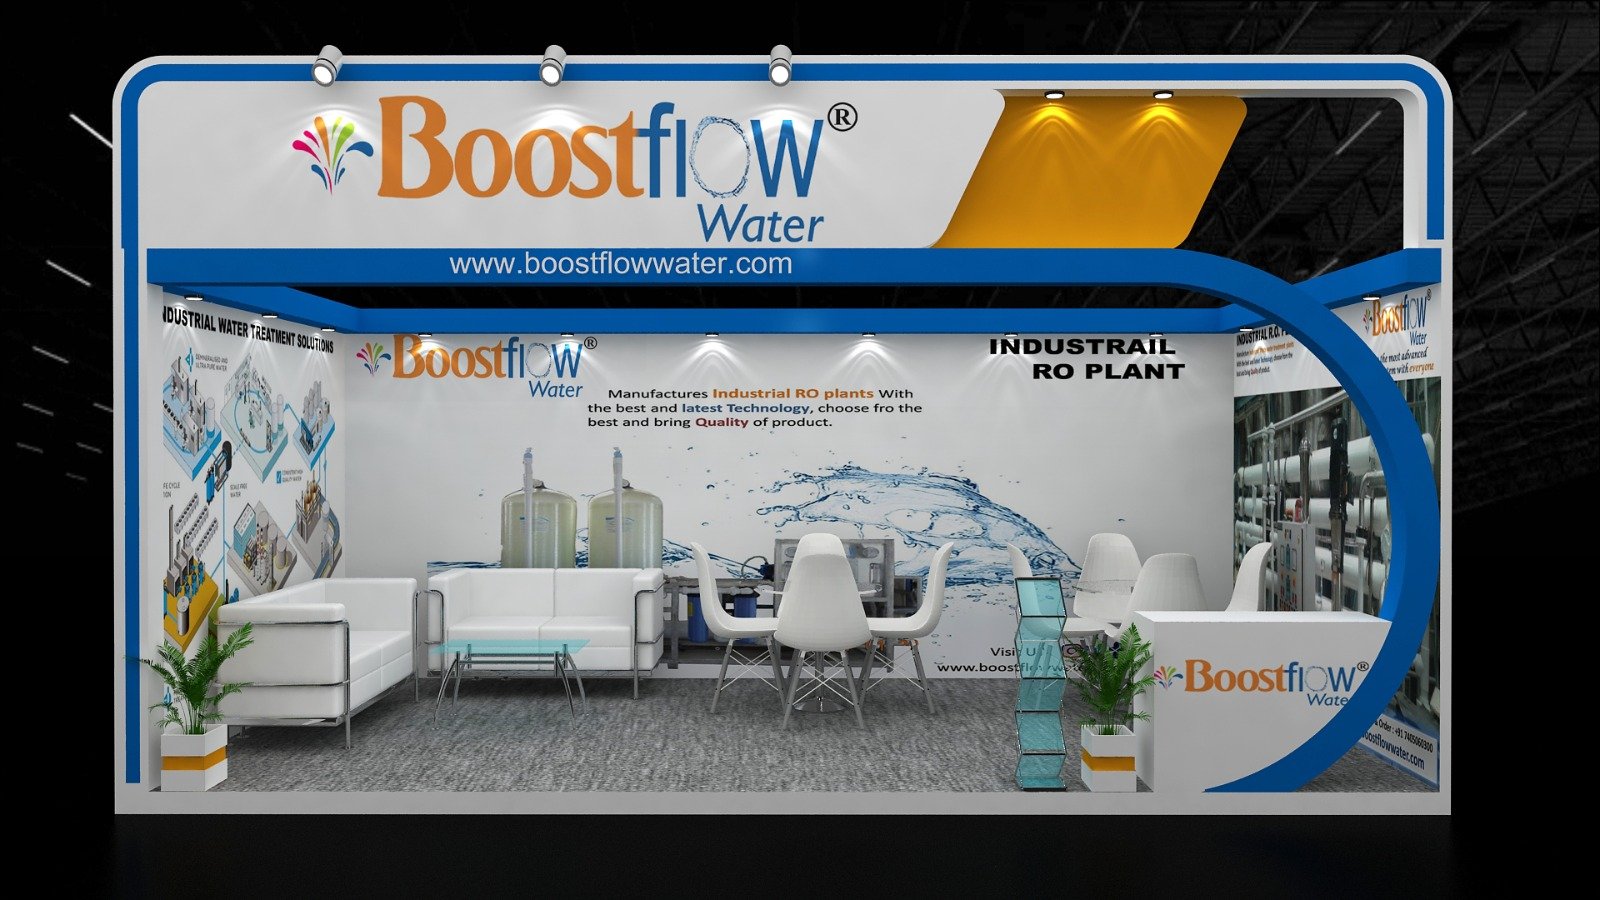
Furniture is part of the decoration because it is often the first thing visitors notice at eye level. Keep it consistent with the palette, and choose pieces sized for the stall: bar-height tables and stools take up less floor space and keep conversations at standing height, while low lounge seating suits larger stalls with a dedicated meeting area.
Small details matter here too. A fitted reception counter with branding and hidden storage looks better than a hired table with a cloth over it. Cushions, a rug under a lounge zone, or matching trays and water jugs can make a meeting area feel cared for. On small stalls, choose fewer, lighter pieces; our guide on making a small exhibition stall look bigger and more premium has more on this.
Pay attention to signage details
Beyond the main fascia and wall graphics, it is the smaller signs that show whether a stall has been thought through:
- 3D acrylic or cut letters for the logo on the reception wall, rather than a flat print
- small product labels or tent cards beside each display, with consistent fonts and sizes
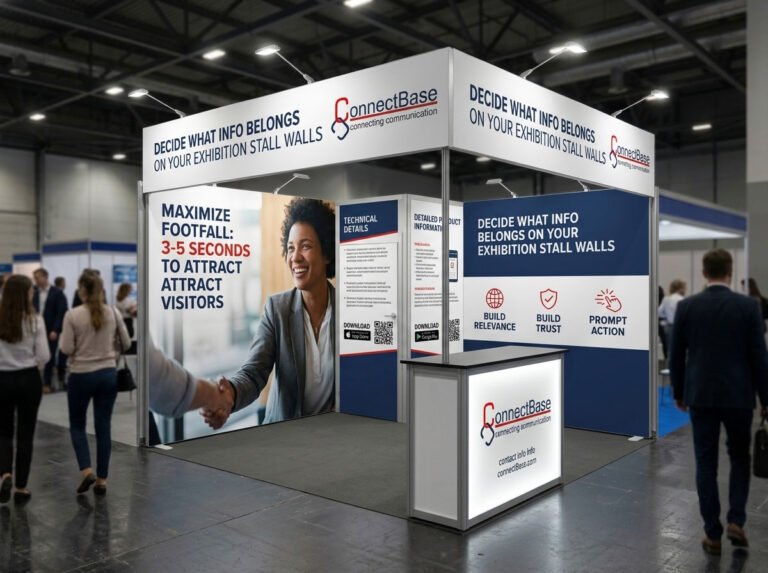
- a clearly placed QR code for catalogues or contact details
- the stall number and company name visible from more than one direction on corner and island stalls
Check edges and joints at set-up: exposed graphic edges, visible screws, loose cables and tape on the floor all undo good decoration. A final walk-round before opening, with a cloth, a toolkit and spare cable ties, is worth the time.
Stay within organiser rules
Every show has its own exhibitor manual, and decoration has to work within it. Typical points to check include stall height limits, fire-retardant requirements for fabrics, carpets and props, restrictions on open flames, helium balloons, loud music or strong scents, rules on hanging items from the hall ceiling, and whether fresh flowers or water features are allowed. Organisers usually ask for stall drawings to be approved in advance, so include major decorative elements in the drawings rather than adding them on the day.
Bringing it together
A well-decorated stall comes from planning the details along with the structure, not after it. Connectbase Communications handles design and exhibition stall fabrication in-house, including finishes, display fixtures, graphics and lighting, so these details are built into the stall from the start.
If you would like help planning the finishing details for your next stall, contact Connectbase Communications or call +91 7600576410.